Aligning knitting machine
အန္တရာယ်

Danger by moving carriage!
Injuries by crushing or cutting possible.
- Close the covers.
Aligning knitting machine
- The covers are closed.
- 1
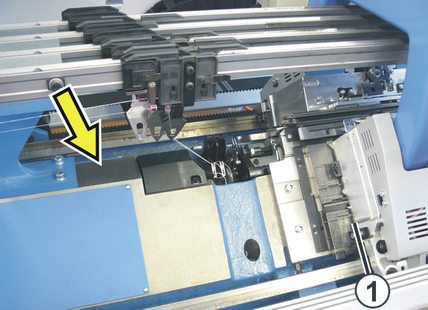
- Turn the engagement rod forward.
- The step motors are referenced automatically.
The carriage moves with slower speed to the right. - 2
- If the left edge of the carriage (1) is within the needle bed, turn the engaging rod backwards.
- The carriage stops.
- 3
- Open the covers.
- 4
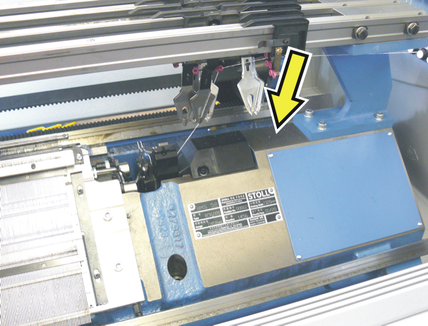
- Lay the spirit level on the support surface on the left-hand side of the needle bed.
- 5
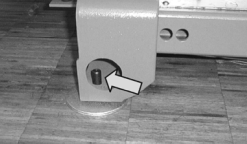
- Align the left-hand side of the knitting machine with the setscrews. Execute this at the front and rear of the machine. The setscrews for aligning are in the accessories of the machine.
- 6
- Lay the spirit level on the support surface on the right-hand side of the needle bed.
- 7
- Align the right-hand side of the knitting machine with the setscrews. Execute this at the front and rear of the machine.
- 8
- Check the setting for the left machine side.
Repeat the steps 4 to 7 until no more correction is necessary. - 9
- Close the covers.
- 10
- Turn the engagement rod forward.
- The carriage moves with slower speed to the right. The carriage returns outside the needle bed, it moves a short distance and stops. The engaging rod falls down.
- 11
- The step motors and the racking are referenced automatically.
- The following message appear on the touch screen:
Rear racking: Reference run finished
- The machine is ready to knit.
The carriage is positioned at the right position for you to be able to load a knitting program.
The accumulators must be completely loaded.
Leave machine switched on for at least 6 hours.