Mounting the yarn guide device
Push the supports of the yarn guide device upward together with another mechanic to prevent the supports from jamming.
- The main switch is set to and secured against being switched on again.
- 1
- Open the lateral safety doors and loosen the screws (1) on both sides of the machine.
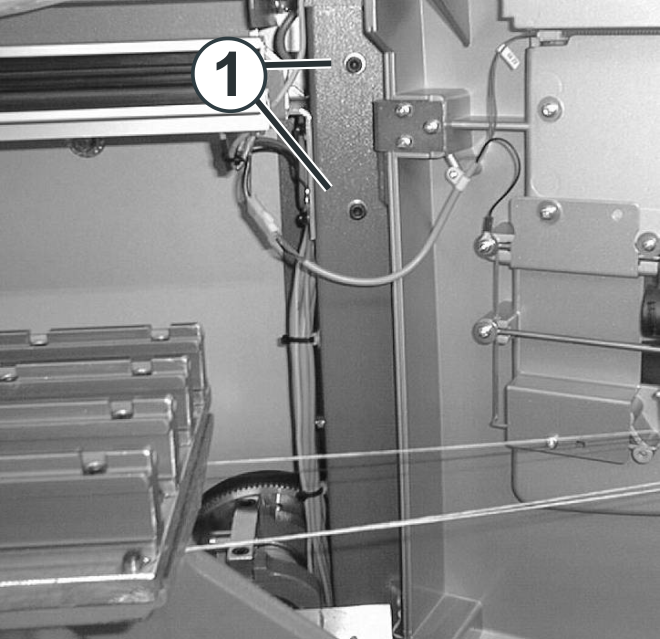
- 2
- Push the left and right supports of the yarn guide device upward simultaneously until the distance between the bobbin board and the yarn guide device is 50 to 55 cm.
- 3
- Retighten the screws (1) on both sides of the machine.
Mounting the rear track of the yarn guide device and the additional bobbin boards
The additional equipment of your machine can deviate from this description depending on the machine type (type of machine, scope of supply, special equipment).
- 1
- Removing transport locks (2).
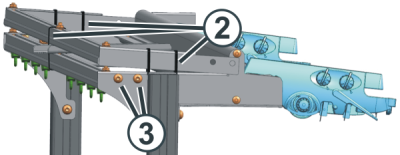
- 2
- Remove the screws (3) on the left and right sides of the machine.
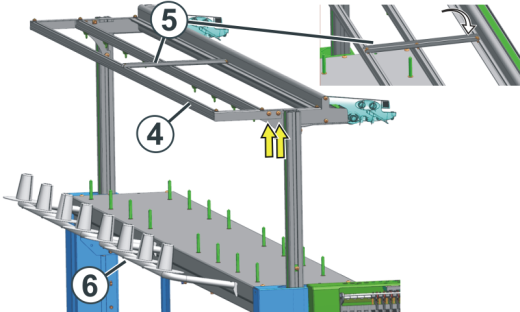
- 3
- Mount the rear track (4) of the yarn guide device.
- 4
- Connect all the tracks of the yarn guide device with the help of the support (5).
- 5
- Hook in both additional bobbin boards (6).