Installation of the PPS Server Suite
Before starting the installation, ensure that you meet all the necessary requirements of the previous chapters. This is the only way to avoid unnecessary effort and obtain a satisfactory result.
Close all programs, as the setup program otherwise may be prevented from exchanging blocked files.
How to start the installation:
- Internet Explorer is available
- 1
- Start installation.
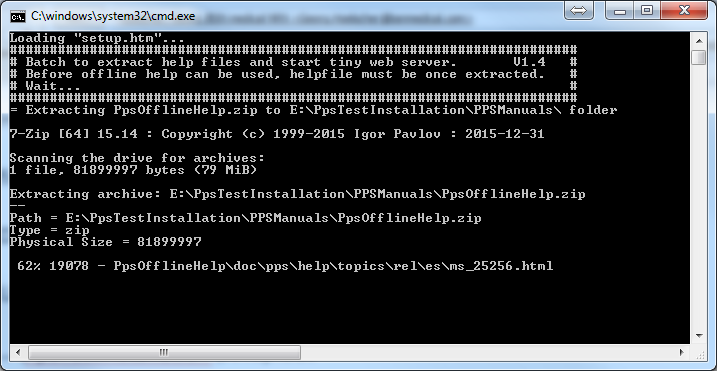
Execute the setup.bat file in the directory of the PPS Server Suite installation files (for ex. C:\PpsInstallationFiles). - Confirm the prompts of the browser asking whether the program is to be executed.


- In the background a DOS window appears that shows the extraction process of the online help which is necessary only once. The help function on the home page of the PPS installation will work only after completing the extraction.
 Before the tiny web server, where the online help is located, can start there may appear even another safety prompt that you need to confirm.
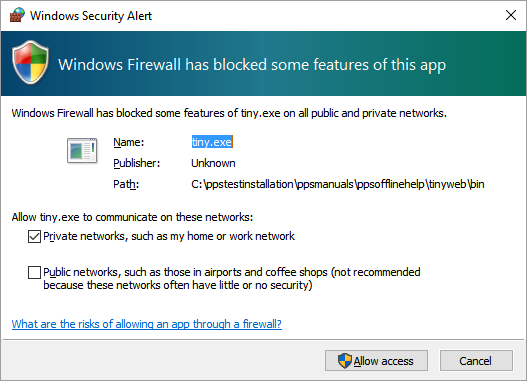
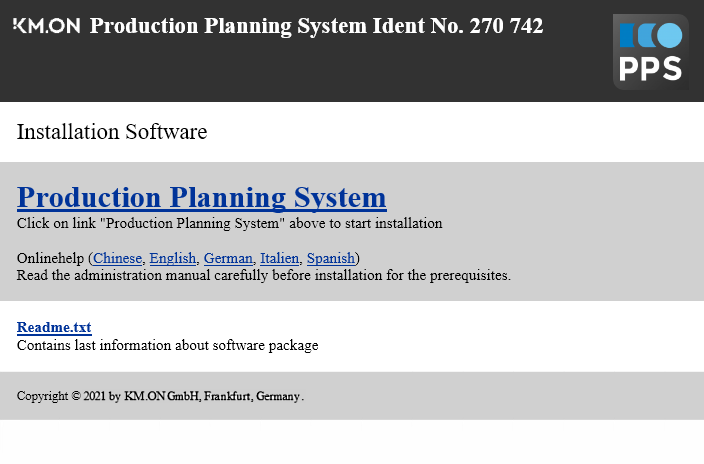
- You will see the home page of the PPS installation in the browser.
- 2
- Open and read the notes in the Readme.txt file clicking on the link with the same name.
It contains important information that were not integrated in the user manual after the time of going to press. - Its content is displayed in the browser.
- 3
- To return to the previous page, press the Back button.
Via the links to the online help you can go to the operating instructions, which includes also this documentation. - 4
- Click on the to execute the setup program.
Or execute c:\PpsInstallationFiles\PPSSetup\ directly in the setup.exe directory.
- The actual installation process starts.
A compact description of the standard installation steps follows.
Details of it can be found in the subsequent chapters.
You are guided through the installation of the PPS and SNS this way.
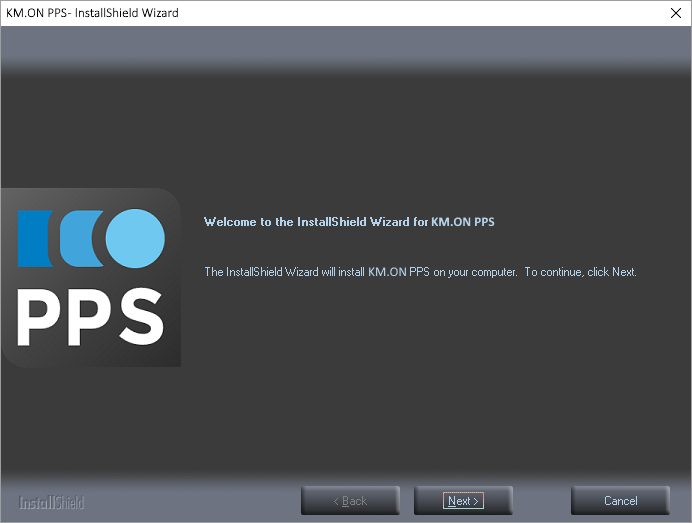
Welcome dialog when starting the installation
- 1
- Read and confirm Eula.

- 2
- Select the components for the installation.
Right now there is no need of the Birt Designer. You can install it later on, when you really want to use it (requires expertise in programing). 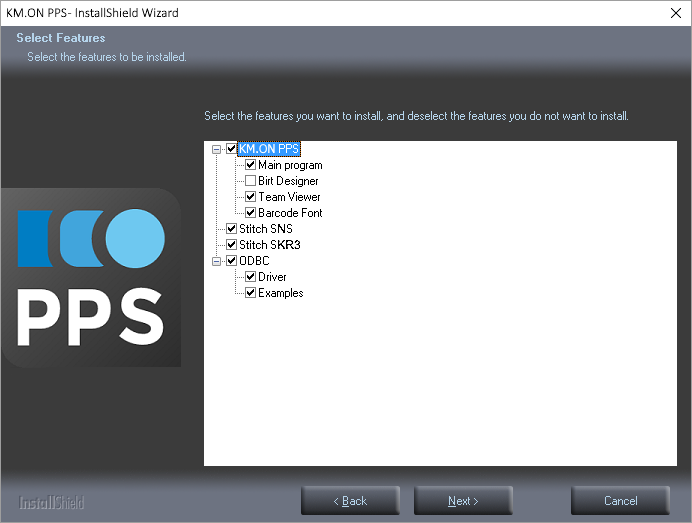
- 3
- Select disk drives.
Depending on the available number of SSD drives, make a reasonable selection (see Performance and Scaling). 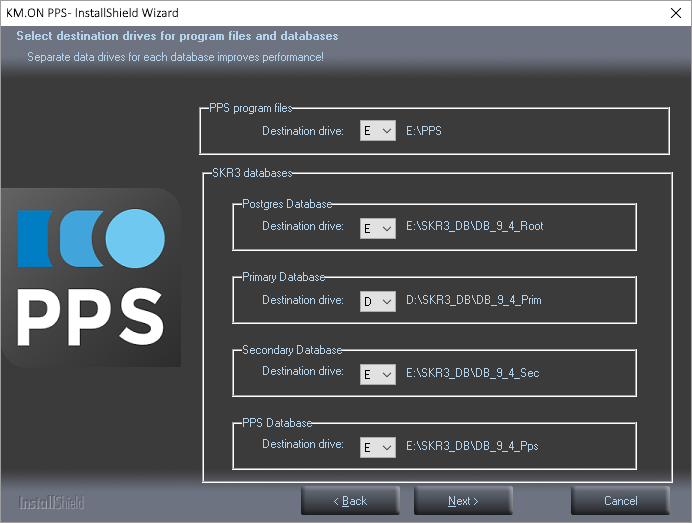
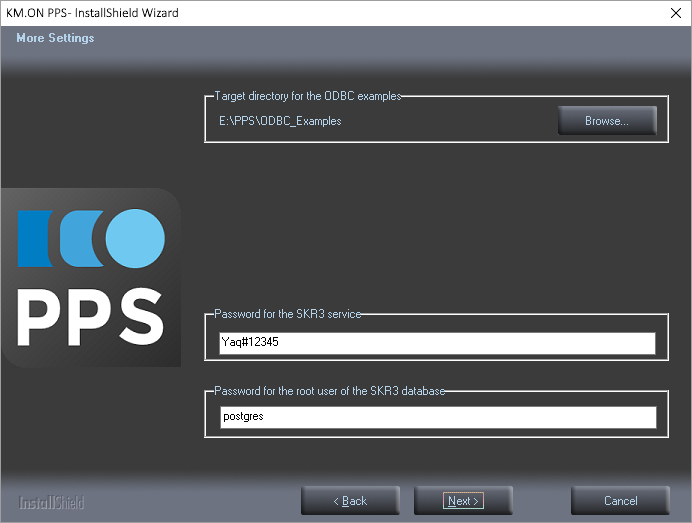
- Select a location for the ODBC examples and maintain the proposed passwords for the Skr3 service and the database access.
- 4
- Make a note of the changes.
- 5
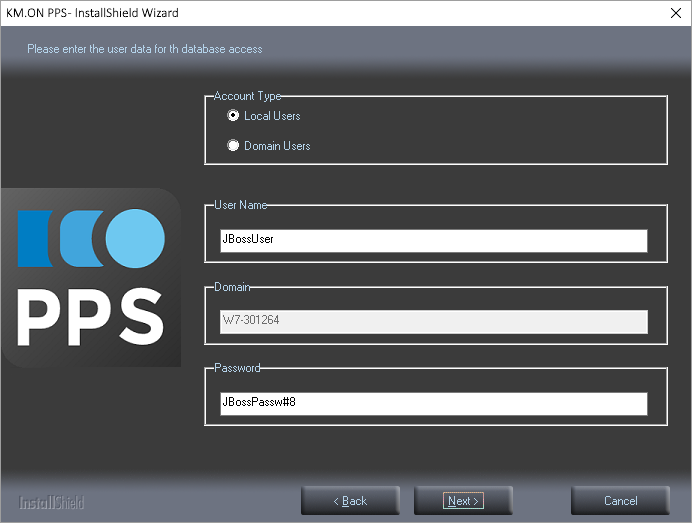
- Maintain the defaults or select a different login for the JBossUser, which can also be saved in the domain.
- 6
- Make a note of the changes.
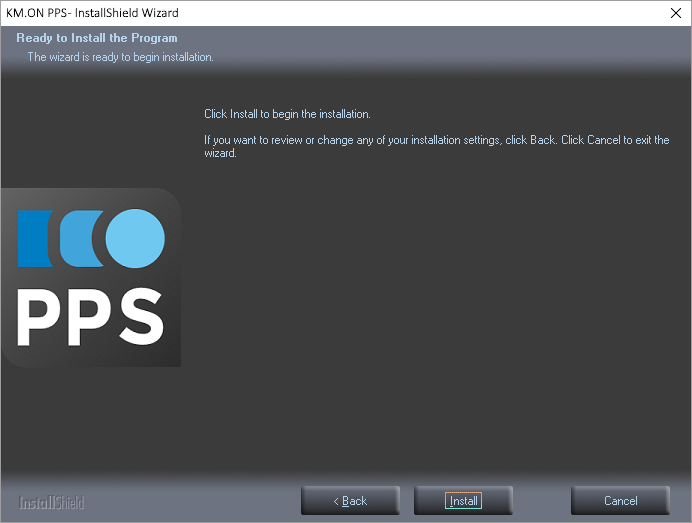
- Ready for the installation and last chance to change entries.
- 7
- If necessary, click the Back button to correct entries.
- 8
-
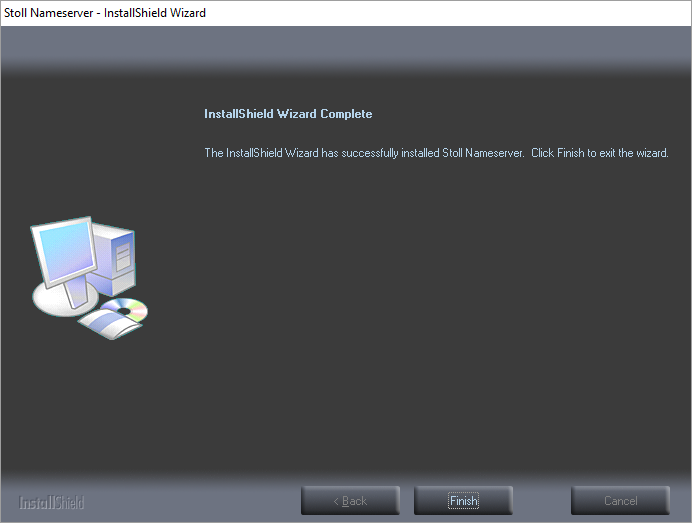
Execute the PPS- installation with Install.
- 9
- The SNS installation starts. Starting with Apache2.4, the dialog boxes have a new design, but they are identical in their use and offer better protection against errors.
Click Next.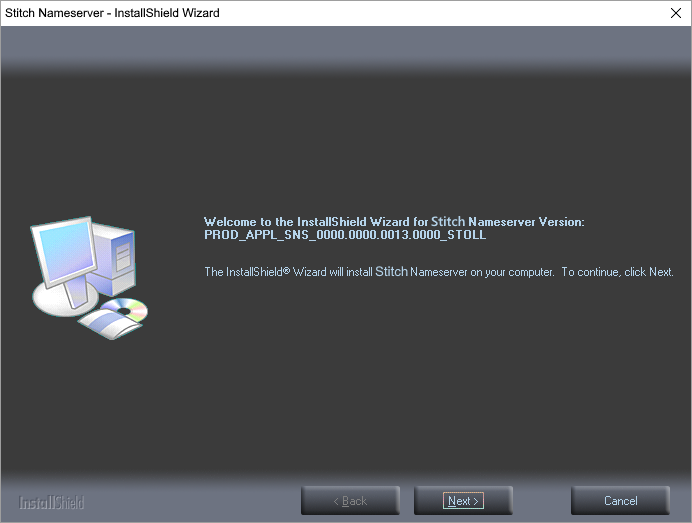
- 10
- Accept Eula of SNS .

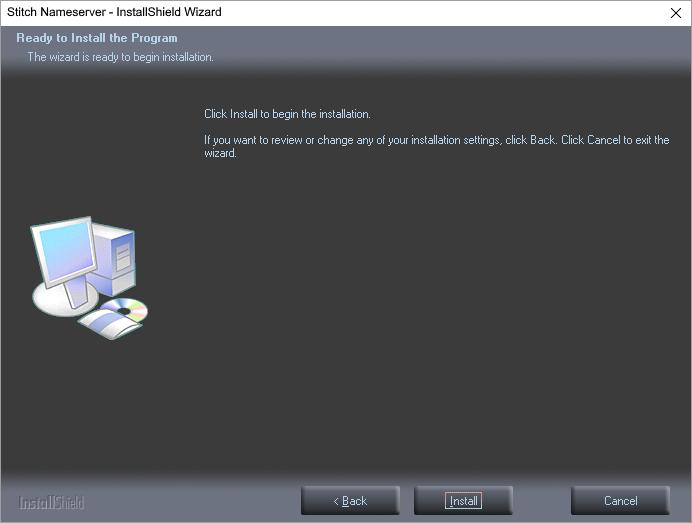
- Last chance to cancel the SNS installation:
- 11
- Execute the SNS installation with Install.
- 12
- Accept the Apache licensed.
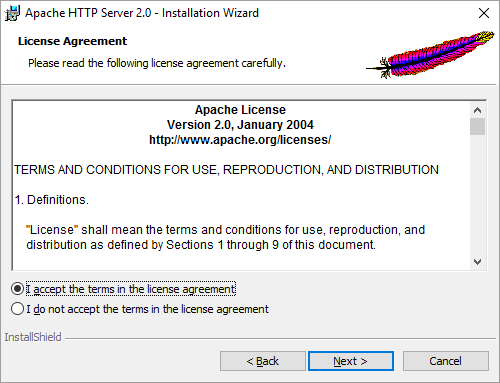
- 13
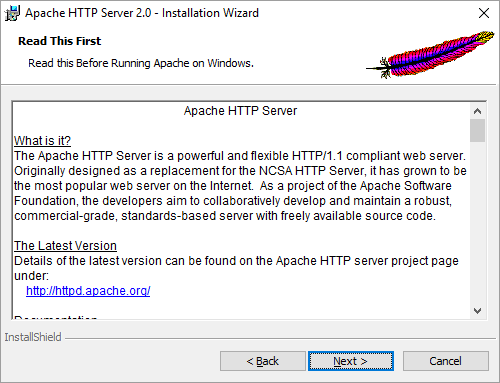
- Read the notes of the Apache installer.
- 14
- Maintain the Apache defaults or adapt them as necessary.
The defaults can only be generated if the PC is networked.
Otherwise you have to make the entries yourself.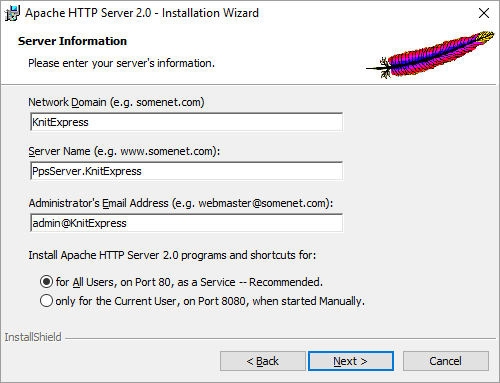
- 15
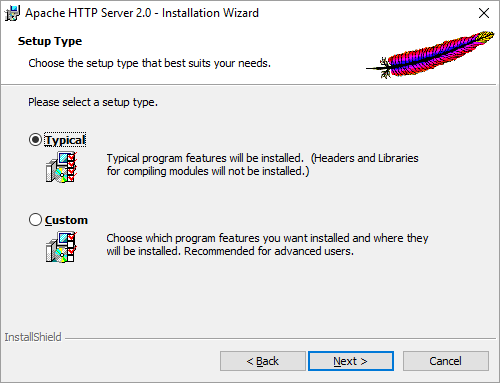
- Keep Typical, unless you know what you are doing. This option is no longer available by the newly created installer starting with Apache2.4.
- 16
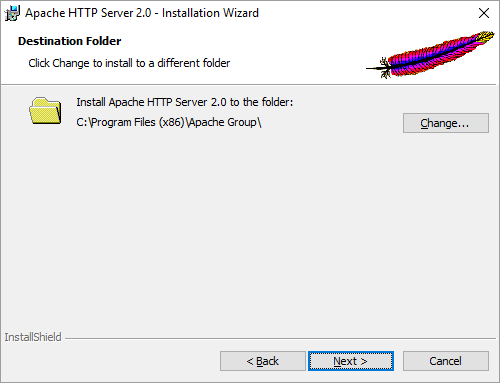
- The folder for the installation must be maintained by all means.
- Apache has all the entries now and is ready to install.

- 17
- Execute the installation of Apache with Install.
- Executing the installation.
- The installation of Apache is finished. The installation of SNS continues.
- 18
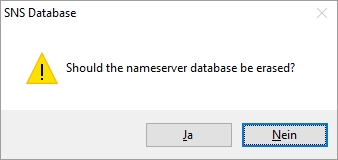
- Maintain the SNS database in case that the SNS was previously installed.
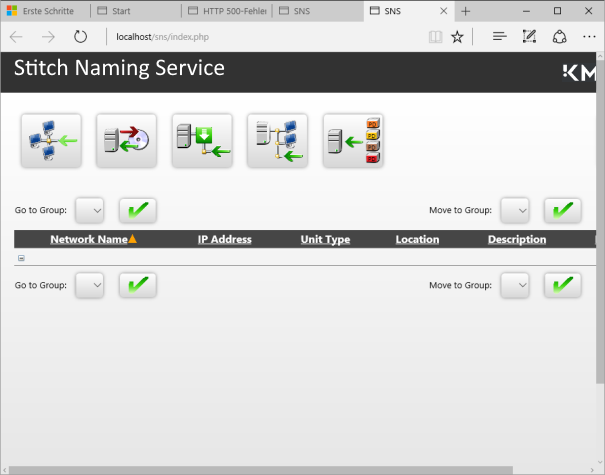
- The installation of SNS is finished.
- The SNS is displayed in the browser for testing.
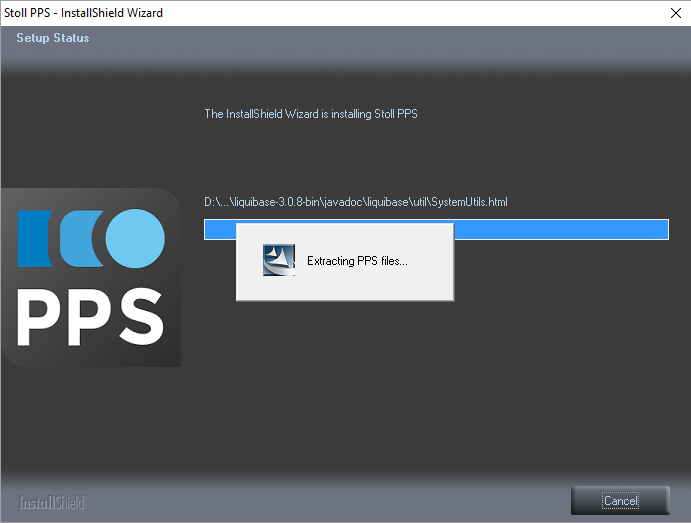
- Many DOS boxes are opened and closed while the PostgreSQL database and the SKR3 software are being installed.
-
Extracting PPS files.
- 19
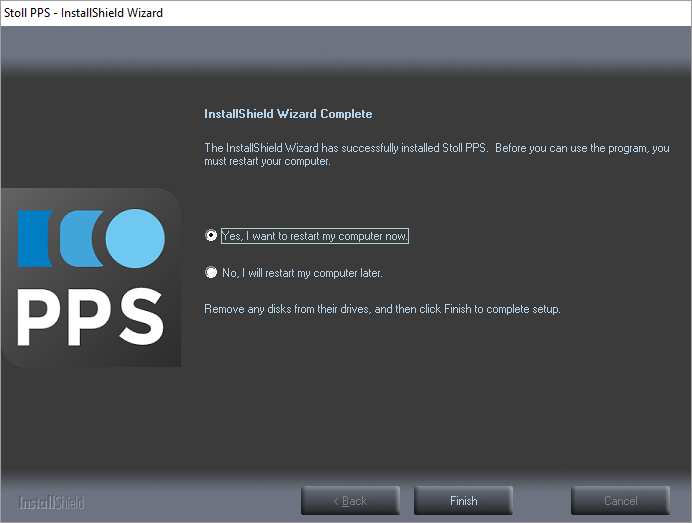
- Confirm the request for rebooting after the finished installation with Finish.