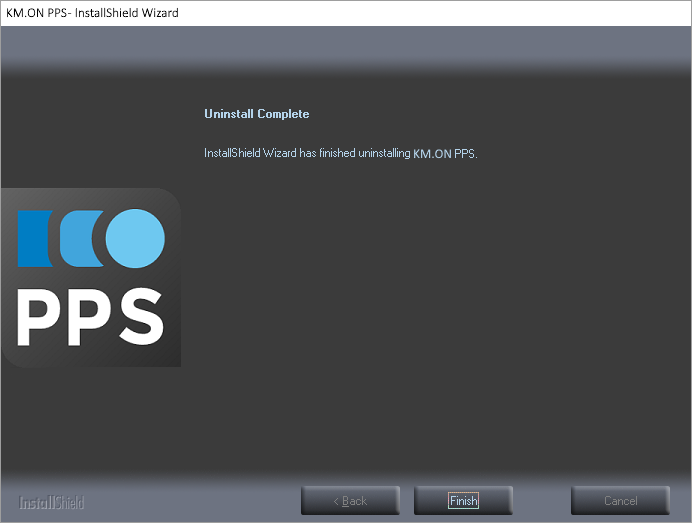
Uninstalling the PPS Server Suite
Before starting to uninstall, back up all the still needed files and especially those you added or changed yourself, as pattern files, your own ticket templates, access settings to the database, tickets, etc. If necessary, back up also the database statuses. For this, use the Data Backup program (see How to Backup the PPS Database) and store the backup on a safe location.
Uninstalling will not remove some files that were not added by the installation program itself or that were changed. You have to delete these files by yourself.
 Close all programs!
The setup program cannot remove locked files.
How to start to uninstall:
- Internet Explorer is available
- 1
- Starting to uninstall.
Execute the setup.bat file.
In the directory of the PPS Server Suite installation files (for example C:\PpsInstallationFiles) - 2
- confirm the browser prompts.


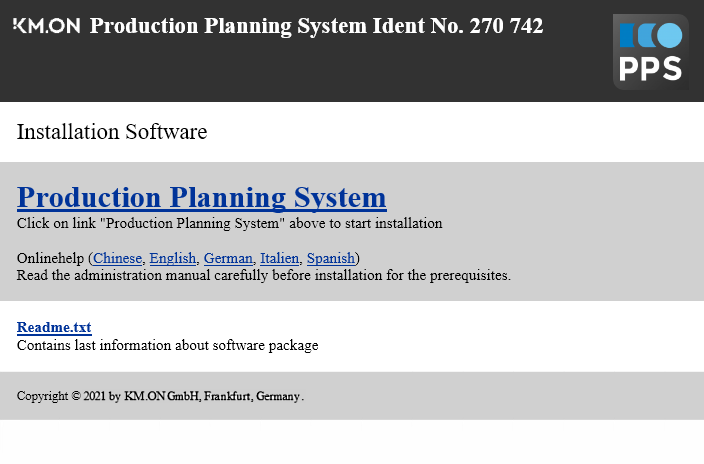
- In the browser appears the home page of the PPS installation.
- 3
- Click on the to execute the setup program.
- or -
Or execute c:\PpsInstallationFiles\PPSSetup\ directly in the setup.exe directory.
- The uninstalling process starts.
You are guided through the uninstalling of the PPS and SNS this way:
Welcome dialog when starting to uninstall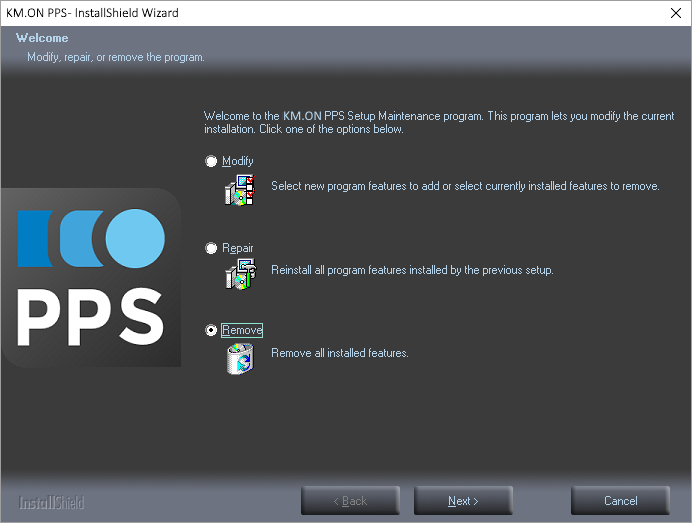
- 1
- Select .
- 2
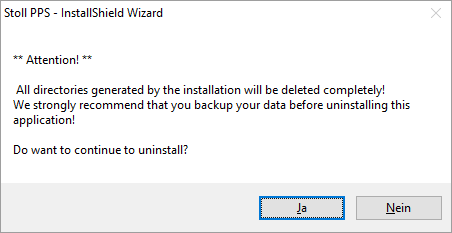
- Take into account the notes for data backup.
- 3
- Confirm the deletion of the PPS and the SKR3 database.
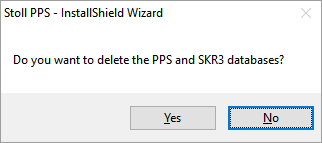
- Uninstalling the SNS starts.
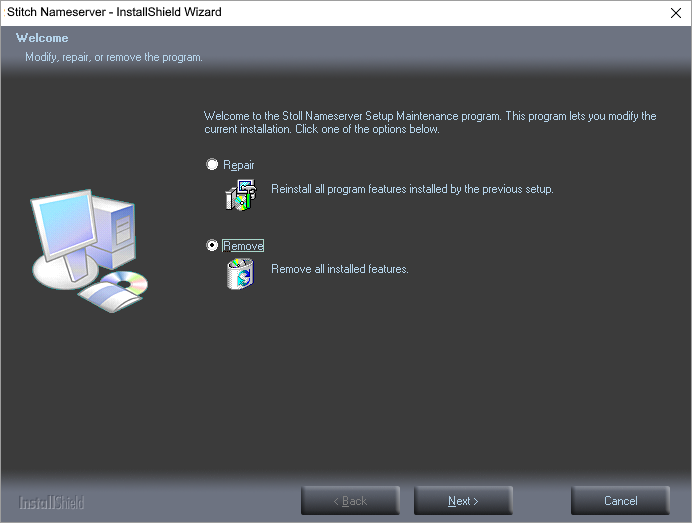
- 4
- Select .
- 5
- Confirm the removal of the entire SNS.

- The Apache Server is uninstalled.
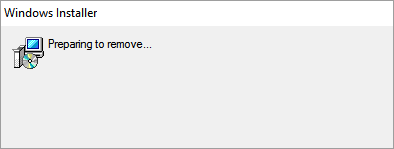
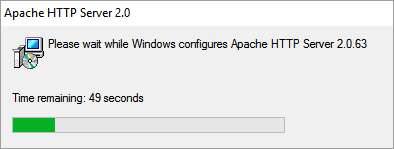
- 1
- Confirm the deletion of the SNS database.
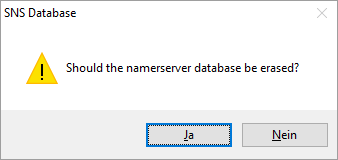
- Files are deleted.

- Uninstalling with InstallSNS.exe is completed.
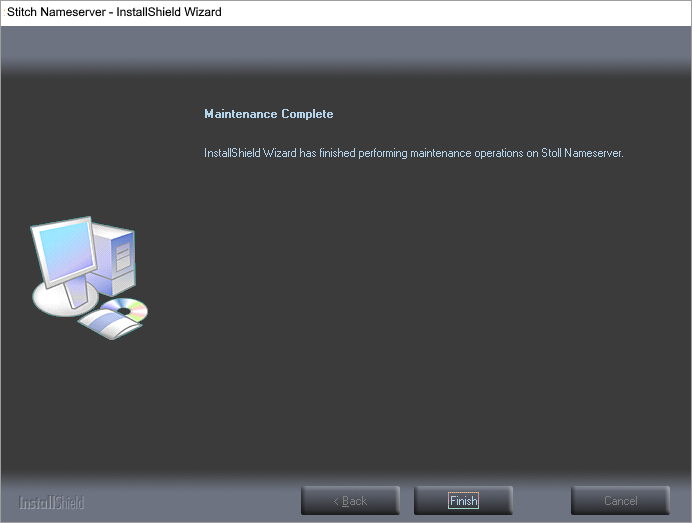
- Uninstalling the SNS is continued and the files that were not added by InstallSNS.exe are removed.

- The confirmation appears after finishing to uninstall.
