Modification of the PPS installation
You can add program parts of the PPS installation or remove not required ones via the Carry out Setup program.
Before removing components, save all files e.g. pattern files, your own ticket templates, access configurations to the database, tickets, etc.
Back up also the database statuses.
For doing this, use the Data Backup Program (see How to Backup the PPS Database), and keep the backup in a safe place. : Close all programs, as the setup program otherwise may be prevented from exchanging blocked files.
How to start the modification:
- Internet Explorer is available
- 1
- Start the modification.
Execute the setup.bat file.
In the directory of the PPS Server Suite installation files (for example C:\PpsInstallationFiles) - 2
- confirm the browser prompts.


- In the browser appears the home page of the PPS installation.
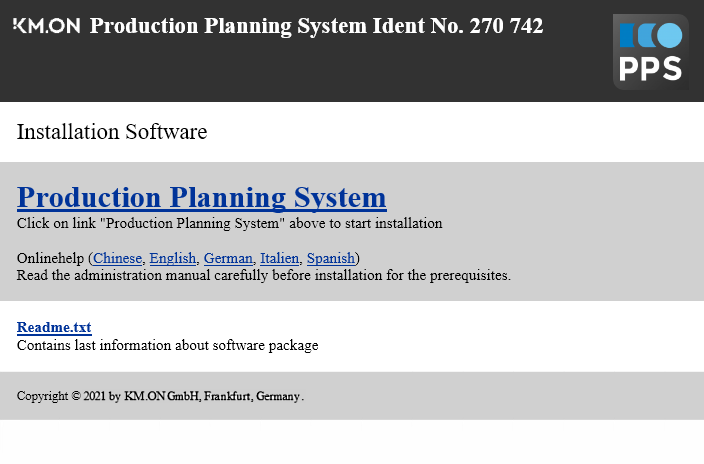
- 3
- Click on the to execute the setup program.
- or -
Carry out direct setup.exe in the directory c:\PpsInstallationFiles\PPSSetup\
- The actual modification process can be selected now.
You are guided through the modification of the PPS this way:
Modification using as example the SKR3 component. Preferably, use a current setup program for the modification.
- The welcome dialog of the setup program is open
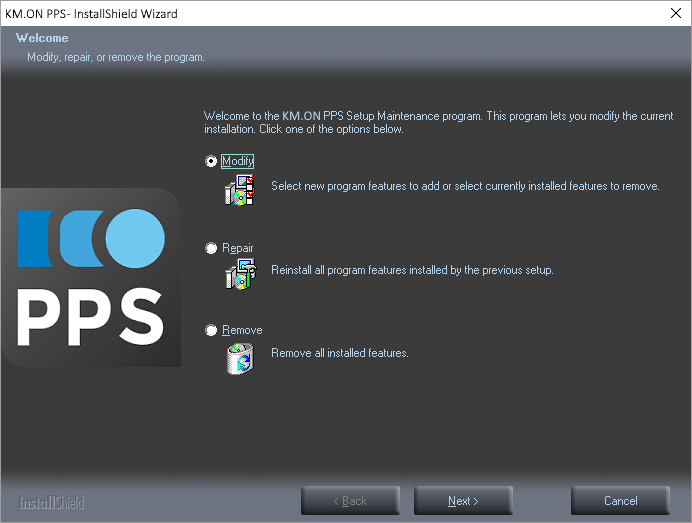
- 1
- Select .
- 2
- Remove the mark for the component to uninstall it.
Example: SKR3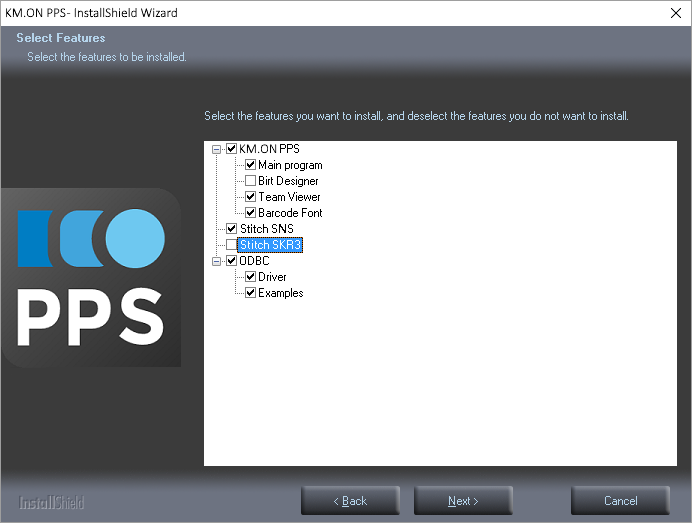
- 3
- Mark the component to install it.
- 4
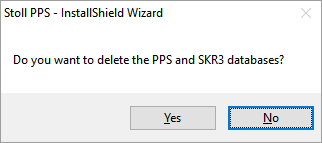
- The next prompt appears asking whether the PPS and the SKR3 databases are to be removed. Since only the SKR components are to be updated, maintain the databases by all means.
- 5
- Select No.
- 6
- If Reboot required appears, confirm with Finish.
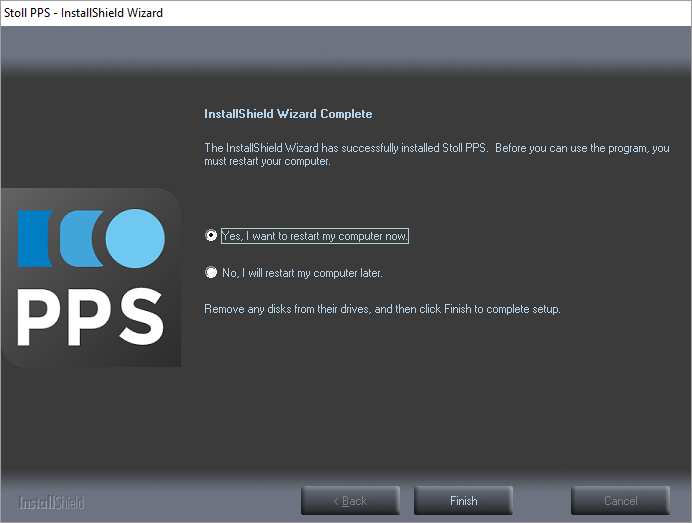
- or -
If the setup program starts again, click on Next.
- or -
Reset the options definitely as shown under 5.
- or -
Continue the modification.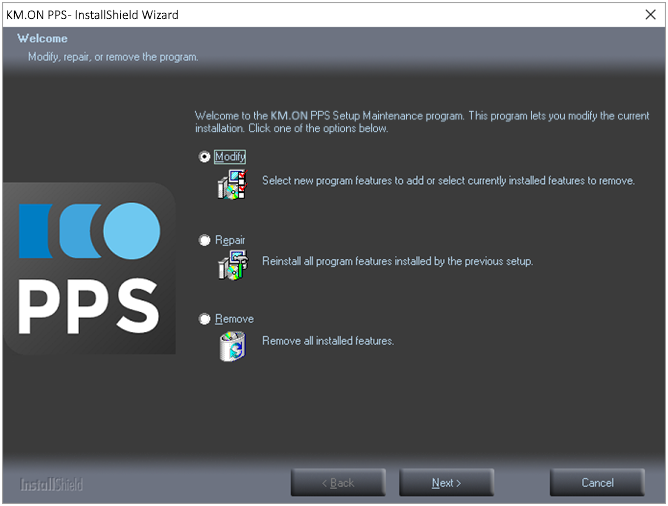
How to install a missing or removed component:
- 1
- Start the setup program that can install the component with the version needed.
- 2
- Execute the steps described previously.
- 3
- Mark the component to be installed and click on Next.

- The component is installed (again).