Remove the carriage part when the carriage assembly is blocked in the needle bed
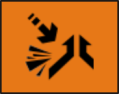
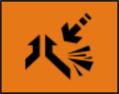
In the case of a shock on the needle bed, the piezo-electric shock stop switches off the knitting machine.
|
Shock stop motion front needle bed |
Shock stop motion rear needle bed |
|---|---|
|
|
|
Possible causes:
- Working butts of the movable parts (needle, coupling part, intermediate slider, and selection jack) are broken. This may have damaged trick walls as well.
I. Remove the carriage part from the needle bed
- 1
- In the main navigation bar select the main area
 Set up Order.
- or -
Select Maintain Machine.
 - 2
- Tap on
 Ingerencje
Manualne I in the bottom navigation bar.
Ingerencje
Manualne I in the bottom navigation bar. - 3
- With
 deactivate the setting
  .
.
- The needle selection in the front and rear needle bed is switched off.
 The key is white.
- 4
- Open the covers.
- 5
- Move all the yarn carriers away from the carriage area.
- 6
- With
 activate the setting .
 - 7
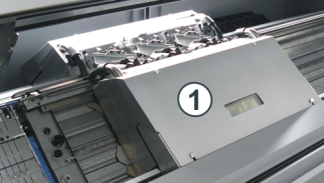
- Remove the carriage assembly panelling (1).
- 8
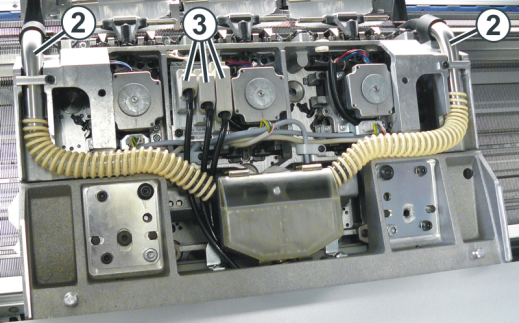
- Take the suction tubes (2) out of the carriage part.
- 9
- Loosen the screws on the plugs (3) and pull out the plugs.
- 10
- Remove the shoulder screws (4) and screws (5) on the left and right-hand sides.

- 11
- Swivel left and right swiveling plates (6) inward.
UWAGA

Damage to needles and knitting system!
There are still needles in the knitting system.
When moving the carriage assembly in the other direction (opposed to the carriage direction), the needles and knitting system can be damaged.
- Do not change the pushing direction of the carriage assembly!
- 12
- Press the Release drive brake [>!] button below
 Ingerencje
Manualne II
Ingerencje
Manualne II - 13
- Move the carriage support away continuing in the original carriage direction.
If the carriage support blocks:
The drive brake has automatically closed.
- 14
- Remove carriage part from machine.
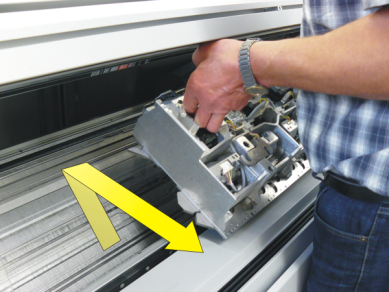
With the front carriage part there is the risk of the cover being damaged if the carriage part is lifted off directly from the needle bed.
- 15
- Check the carriage part and the needle bed.
II. Check and clean the carriage part and the needle bed
Do not remove metallic parts and fragments (e.g. broken needle latch or needle hook) with a magnetic tool. There is a danger that the needle bed or cams can be magnetized, leading to incorrect selection.
- Check the cams for damage.
Remove broken working butts of the movable parts (needle, coupling part, intermediate slider, and selection jack). - Check the needle bed for damage.
Remove broken working butts of the movable parts (needle, coupling part, intermediate slider, and selection jack).
If trick walls are damaged, they have to be repaired.
- 1
- Clean the selection systems with a clean cloth.
- 2
- Clean the cams with a cloth and check them for wear and damage.
- 3
- Remove fragments if necessary
- 4
- Apply oil onto the cams with a brush.
For further information about cleaning the knitting and selection systems refer to the operating instructions.