Create Initial State[Outdated translation - Switch to English or German]
|
| Basics |
|---|---|
| Available for: |
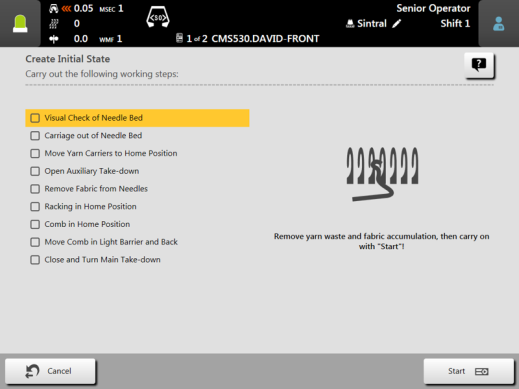
With the function Tworzenie stanu początkowego there are carried-out the following steps:
Attention: If you need to carry out a different work procedure for the restart of a fabric, e.g. when working without comb take-down, we recommend not to use the function Tworzenie stanu początkowego. |

Return the machine to the initial state.
With this, the individual aggregates (carriage, yarn carriers, racking,...) are brought to a defined state step by step. The machine performs the needed steps automatically.
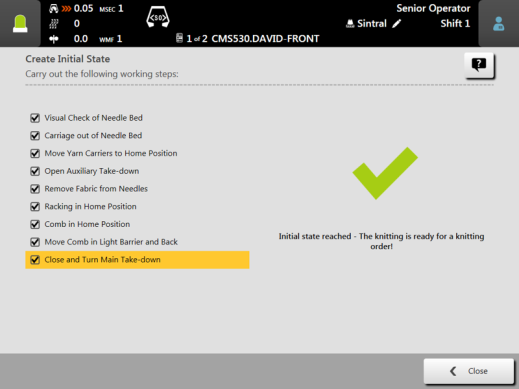
When the steps are processed, the initial state is created and the machine is ready to knit.
Afterwards you can:
- start a new fabric (continue the production, for example, after an error)
- exit the current production

Preliminary Remarks:
|
Icons and actions | Explanation |
|---|---|
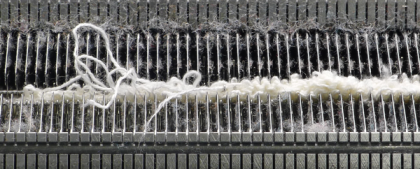
| Between the single steps you must check whether the needle bed is free. It means that no yarn residues or fabric accumulations are on the needle bed.
You must remove them manually as there would be the risk of damaging the needles or blocking the carriage. |
Start | Call up the first step. |
| With some steps you will be asked to pull up the engaging rod so that the carriage can perform the next action. |
| As long as the machine is performing the action, this icon appears. |
Kontynuuj | Proceed to the next step. |
| Repeat action |
| Anuluj działanie |
The individual steps:
|
| expand, expanded display |
| collapse, reduced display |
- 1
- Check whether the needle bed is free.
- 2
- Tap the button Start.
- The prompt Przesuń głowicę za pomocą drążka załączającego is displayed.
- 1
- Pull up the engaging rod.
- The carriage moves outward up to the reversing position and stops.
- 2
- Check whether the needle bed is free.
- 3
- Tap the button Kontynuuj.
- The prompt Przesuń głowicę za pomocą drążka załączającego is displayed.
- 1
- Pull up the engaging rod.
- The carriage moves back and forth several times until all the yarn carriers are in their home position.
- 2
- Check whether the needle bed is free.
- 3
- Tap the button Kontynuuj.
- The prompt Przesuń głowicę za pomocą drążka załączającego is displayed.
- 1
- Pull up the engaging rod.
- The auxiliary take-down will be opened.
- Tap the button Kontynuuj.
- The prompt Przesuń głowicę za pomocą drążka załączającego is displayed.
- 1
- Pull up the engaging rod.
- The carriage runs back and forth several times and casts-off the fabric while doing that.
- 2
- Check whether the needle bed is free.
- 3
- Tap the button Kontynuuj.
- The prompt Przesuń głowicę za pomocą drążka załączającego is displayed.
- 1
- Pull up the engaging rod.
- 2
- The machine performs the following actions:
 The steps 5, 6 and 7 are performed one after the other without interruption.
Step 5: The racking moves to the home position
Step 6: The comb moves to the home position
Step 7: Comb moves upwards until the comb light barrier and back again to the home position. With it a check is carried out whether a yarn, yarn residues or fabric residues are located on the comb hooks. - 3
- Check whether the needle bed is free.
- 4
- Tap the button Kontynuuj.
- 1
- The main take-down is closed and turned.
The fabric residues are moved downwards into the fabric container.
- The initial state is restored.

Now, you have two possibilities:
- 1
- A new fabric starts.
For this, tap the button Restartowanie dzianiny. - 2
- Exit the current production.
For this, tap the button Wyjście z trybu produkcja.


